For somewhere colourful I used Google and typed in 'Somewhere colourful'.
This is what came up:
Colourful kitchens.
Market place.
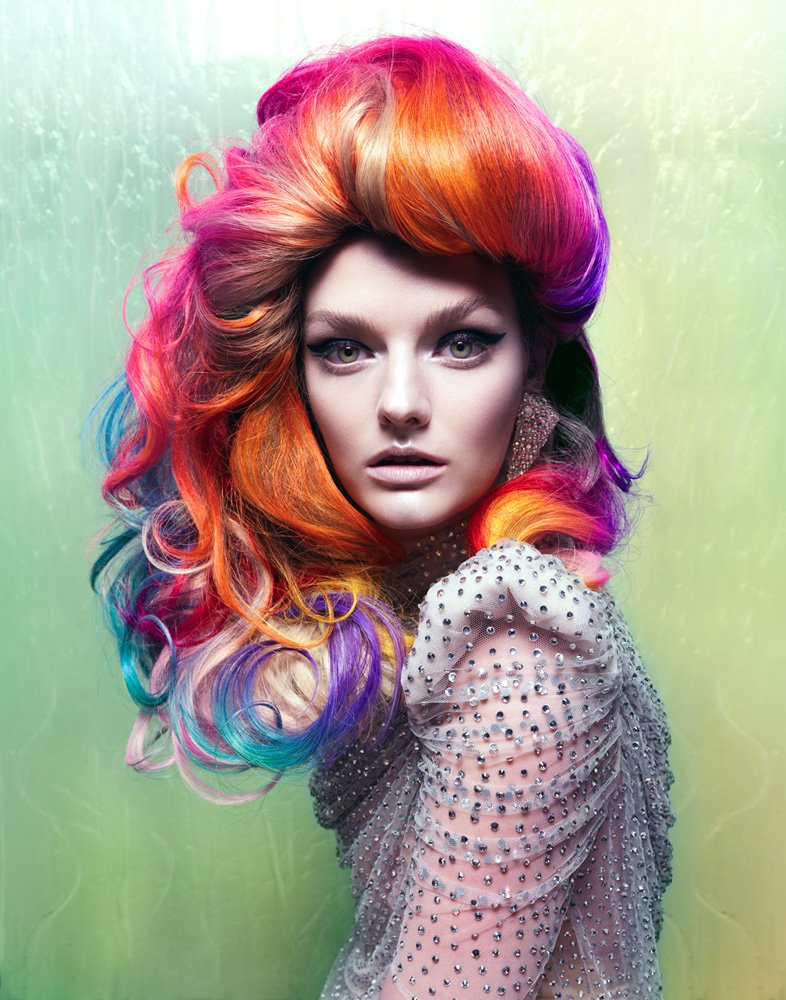
Hair colour.
Market places again.
Food.
Colour is all around us.
These are some pictures of colour that I took while walking around Manchester:
This was such a great collection of colours and styles that I had to take a picture. It is just so eye-catching.
As are these, stretchers millions of colours all glinting in the lights.
These are some ideas I have had:
I tried out the imagination idea because I have done lots of light painting and everyone might choose to do that so I want to do something different.
These are the photos for the Imagination idea:
The idea I have is that I will sit down in a relaxed pose and have space above my head so that I can add in clouds of imagination.
I like this picture but I think it would look a little better with my legs in the shot. But I really like the space above my head.
Just caught the light box in the corner.
It was a little bit challenging because we kept getting the boxes in the shot.
This shot is a bit darker then the others I think I moved back a bit during the shoot.
I'm in the centre of the shot and I think it would look better if I was to one side.
Then I tried black and white images because then I could add in colour
I like this one but the light is shinning on my glasses and the light box is just appearing in the top corner.
I think I am going to use this photo because I like where I am positioned, in the corner of the image and I like
This is how I had the studio set up, two soft light boxes pointed down because I was sat in a meditational pose.
Another part of this idea was to have cogs in my forehead to make it look like I am deep in thought.
These are some of the pictures of cogs that I might use.
If I used this one I would cut the writing and arrows out.
If I used this one I would multiply them and have different sizes.
I like these but they are at a funny angle.
I am going to use these ones.
I cut them out of the background of the other picture and moved and resized them onto my photo.
I put my photo into photoshop then dragged the cog layer onto the photo.
Then I resized it and rotated it so it fit perfectly onto my forehead.
Then I changed the colour to something a bit darker so that you could see it better then I faded it slightly into my head just so it looked like part of the picture and not just something that was stuck there.
Then I merged both layers together so that they were one image.
Next I added clouds of thoughts and feelings that go in my imagination.
This is the cloud in which thoughts will be placed.
This is my final image. The cogs are for literally showing my mind working.
I chose to have it all in black and white with just the balloons in colour because it is for the Somewhere colourful sentence.